Physical Address

304 North Cardinal St.
Dorchester Center, MA 02124

How to Start a Thriving Compost Pile- An Easy Step-by-Step Guide

How to Start a Thriving Compost Pile: An Easy Step-by-Step Guide

Composting is one of the best ways to reduce waste, enrich your soil, and create a sustainable garden. Whether you’re a beginner or an experienced gardener, starting a compost pile can transform your organic waste into nutrient-rich soil for plants. If you’re looking for an easy, step-by-step guide to starting a thriving compost pile, you’ve come to the right place!

Why Compost?

Before diving into the process, let’s explore why composting is beneficial:

Now, let’s get started on building your own compost pile!

Step 1: Choose the Right Composting Method

Choose the Right Composting Method
©shvetsa on Pexels

There are several composting methods to consider, depending on your space, lifestyle, and preference.

1. Traditional Compost Pile

Perfect for larger yards, this method involves layering organic materials in an open-air pile. It requires regular turning to speed up decomposition.

2. Compost Bin

Ideal for small spaces, a compost bin keeps waste contained and reduces odors. You can buy a ready-made bin or build your own using guidelines from The University of Minnesota Extension.

3. Tumbling Composter

A rotating compost bin that accelerates decomposition by mixing the contents with minimal effort.

4. Vermicomposting (Worm Composting)

Great for apartments, this method uses worms to break down organic waste quickly and efficiently, as detailed in a guide by The Cornell Waste Management Institute.

Step 2: Select a Location

Choose a convenient and efficient spot for your compost pile. Consider these factors:

  • Good drainage: Avoid areas prone to standing water.
  • Partial sunlight: Too much sun can dry out compost, while too much shade slows decomposition.
  • Accessibility: Place it close enough to your kitchen for easy disposal of food scraps.

Step 3: Gather the Right Ingredients

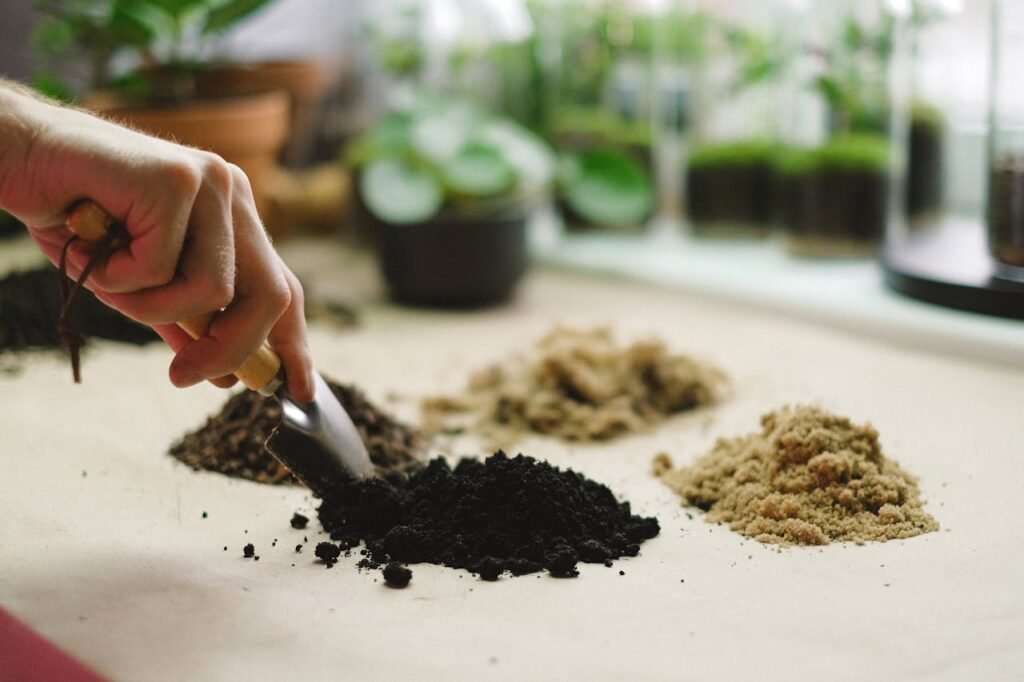
Composting relies on a balance of green and brown materials:

Green Materials (Nitrogen-Rich)

  • Fruit and vegetable scraps
  • Grass clippings
  • Coffee grounds and filters
  • Manure (herbivore only, such as cow, horse, or rabbit)

Brown Materials (Carbon-Rich)

  • Dry leaves
  • Straw and hay
  • Shredded paper or cardboard
  • Wood chips and sawdust (untreated)

What to Avoid

  • Meat, dairy, and oily foods (attract pests and create odors)
  • Diseased plants
  • Pet waste (contains harmful pathogens)
  • Treated wood products (may contain chemicals)

Step 4: Build Your Compost Pile

1. Start with a Base Layer

Lay down twigs or coarse materials to improve airflow at the bottom.

2. Layer Green and Brown Materials

Alternate layers of greens and browns to maintain a balanced carbon-to-nitrogen ratio (roughly 2-3 parts browns to 1 part greens).

3. Keep It Moist

Your compost should be damp, like a wrung-out sponge. If it’s too dry, add water; if too wet, mix in more brown materials.

4. Turn the Pile Regularly

Aerating your compost speeds up decomposition. Use a pitchfork or shovel to turn the pile every 1-2 weeks, as recommended by The National Organic Program.

Step 5: Troubleshoot Common Composting Problems

Troubleshoot Common Composting Problems
©mikhail-nilov on Pexels

Even the best compost piles can run into issues. Here’s how to fix them:

Problem 1: Compost Smells Bad

  • Cause: Too much moisture or excess green materials.
  • Solution: Add more brown materials and turn the pile frequently.

Problem 2: Pile is Not Breaking Down

  • Cause: Lack of nitrogen, moisture, or aeration.
  • Solution: Add more greens, water, or turn the pile more often.

Problem 3: Attracting Pests

  • Cause: Presence of meat, dairy, or large food scraps.
  • Solution: Avoid prohibited materials and bury food scraps deeper in the pile.

Step 6: Know When Your Compost is Ready

Compost typically takes 2-6 months to fully break down. Here’s how to know it’s ready:

  • Dark, crumbly texture: Finished compost looks like rich, dark soil.
  • Earthy smell: It should have a fresh, natural scent, not a foul odor.
  • No recognizable scraps: All food and plant material should be decomposed.

Step 7: Use Your Compost in the Garden

Once your compost is ready, it’s time to put it to use:

Bonus Tips for a Successful Compost Pile

  • Chop large materials into smaller pieces for faster breakdown.
  • Keep your compost covered with a tarp during heavy rain to prevent waterlogging.
  • Balance greens and browns to maintain efficient decomposition.
  • Avoid adding too many citrus peels, as they can slow down worm activity in vermicomposting.
  • Use a compost thermometer to monitor the temperature (should be between 130°F-160°F for optimal breakdown).

Thriving Compost Pile: Final Thoughts

Starting a compost pile is an easy and rewarding way to reduce waste and enrich your garden. By following these steps and maintaining the right balance of materials, you’ll create nutrient-rich compost that improves soil health and supports a thriving ecosystem. Whether you have a small balcony bin or a backyard compost pile, composting is a sustainable practice that benefits both you and the environment.

Leave a Reply

Your email address will not be published. Required fields are marked *